The Eco-Friendly Roofing Contractor
Tile Roof Restoration
Step-by-Step Guide: How a Tile Roof Replacement Works
The photos in this article come from an actual GreenGo Roofing tile replacement, giving you a clear view of what happens from start to finish.
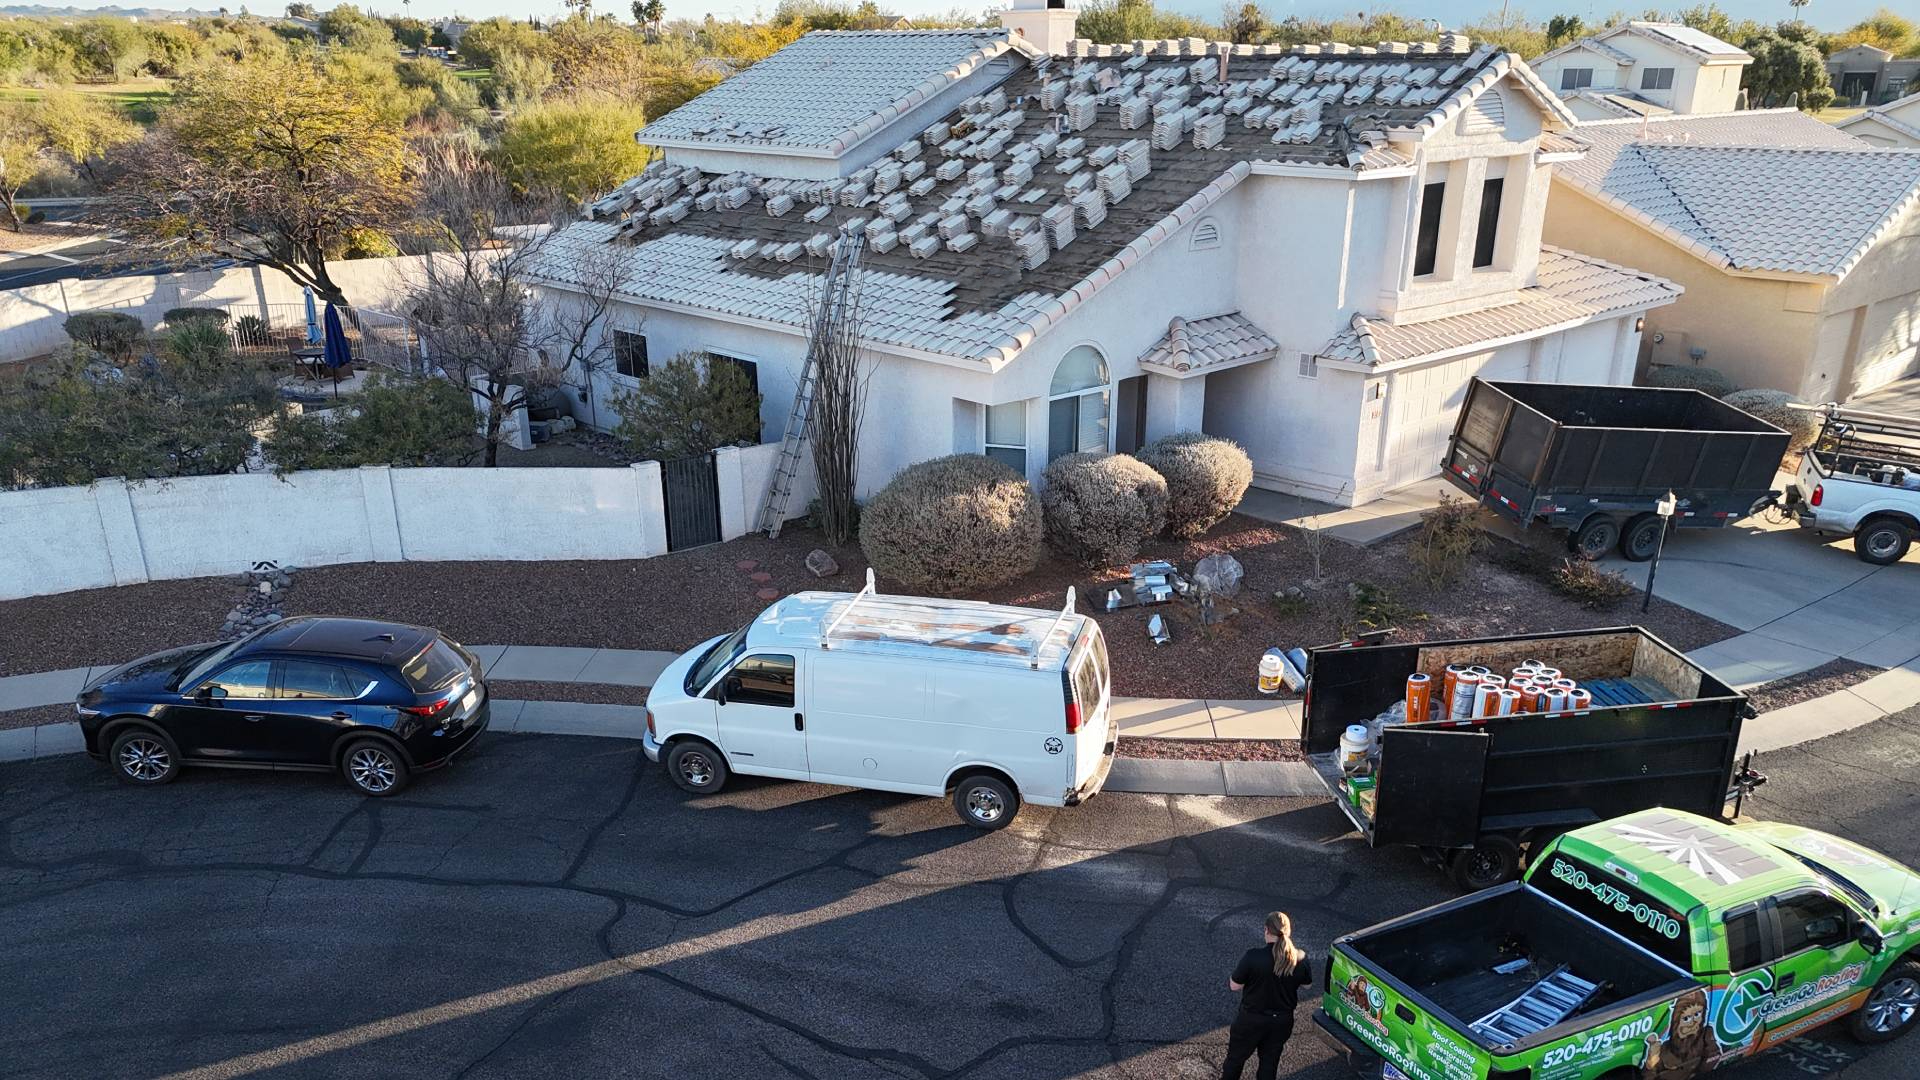
Step 1: Arriving on site and setting up
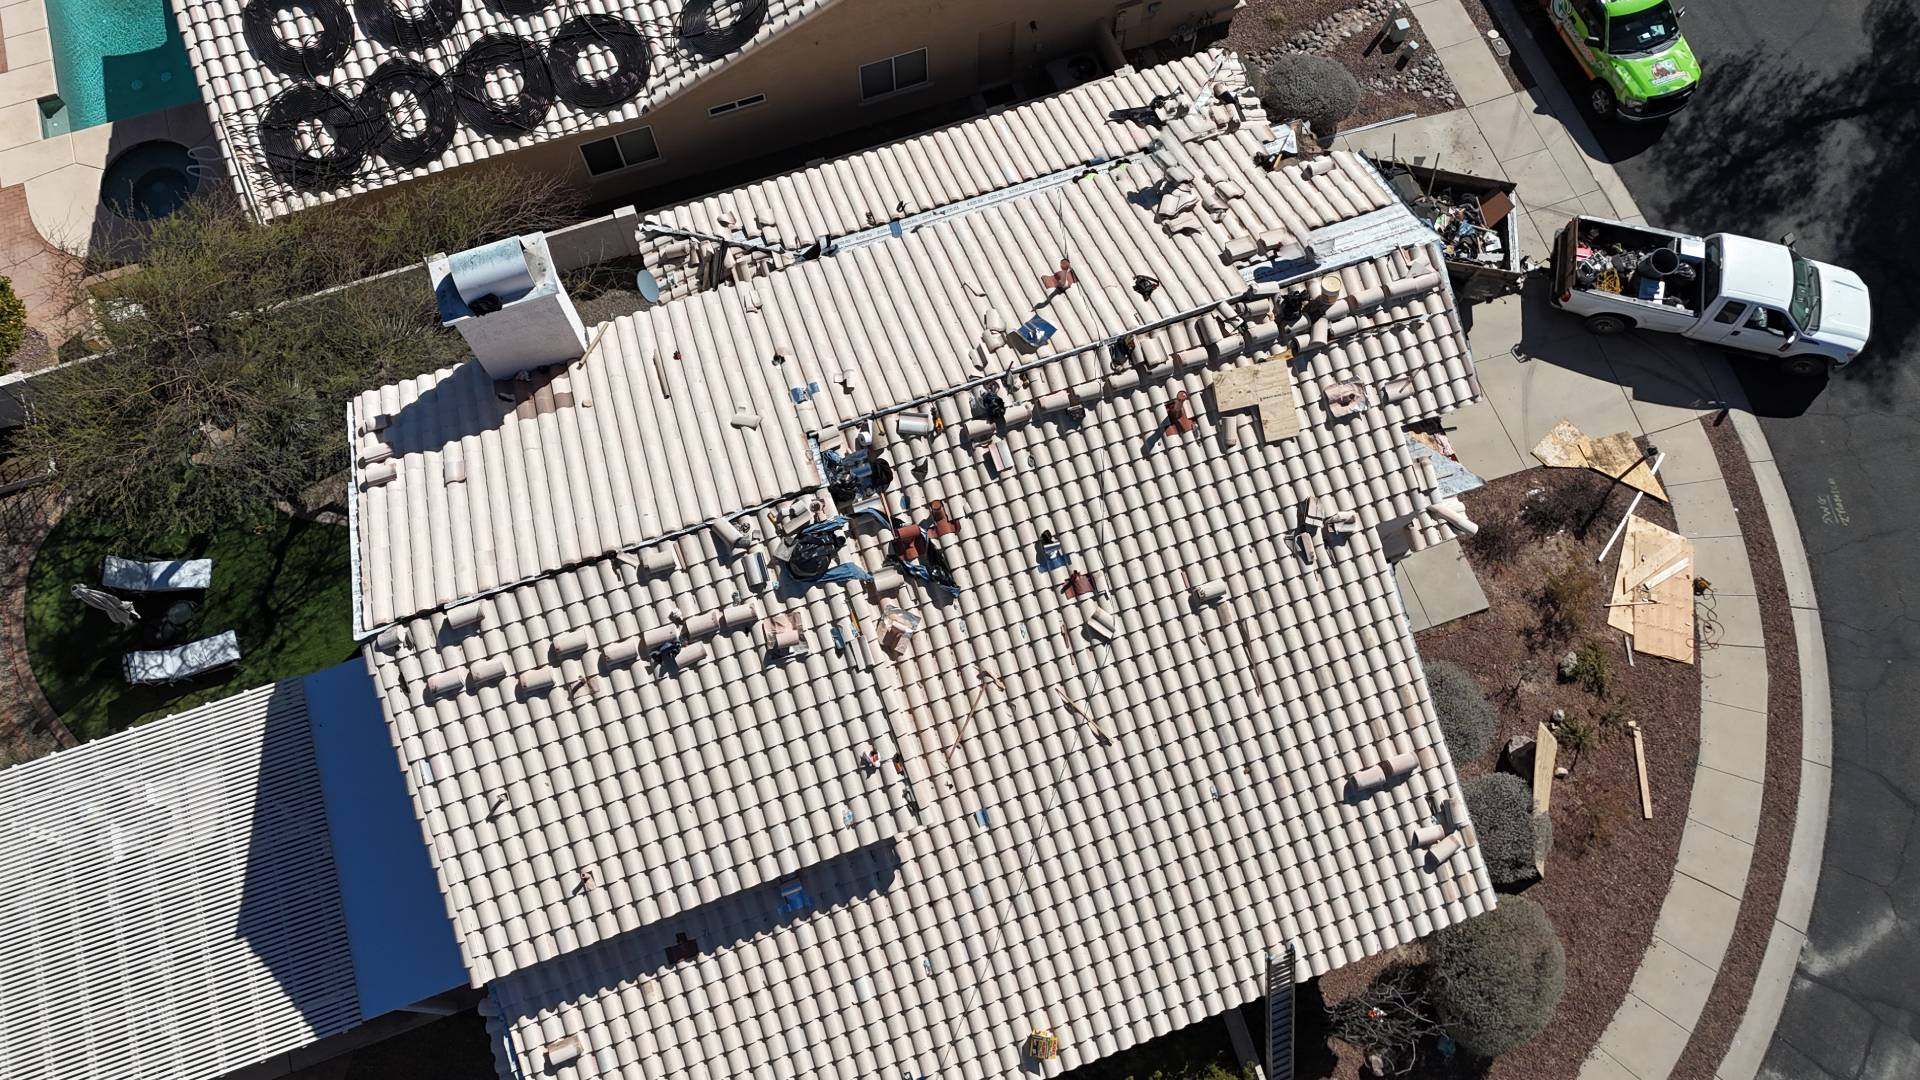
The crew arrives with trucks, trailers, and all the materials needed for your tile roof replacement. They park in convenient spots, unload supplies, set up ladders, and organize everything so the project moves smoothly without disturbing your neighborhood.
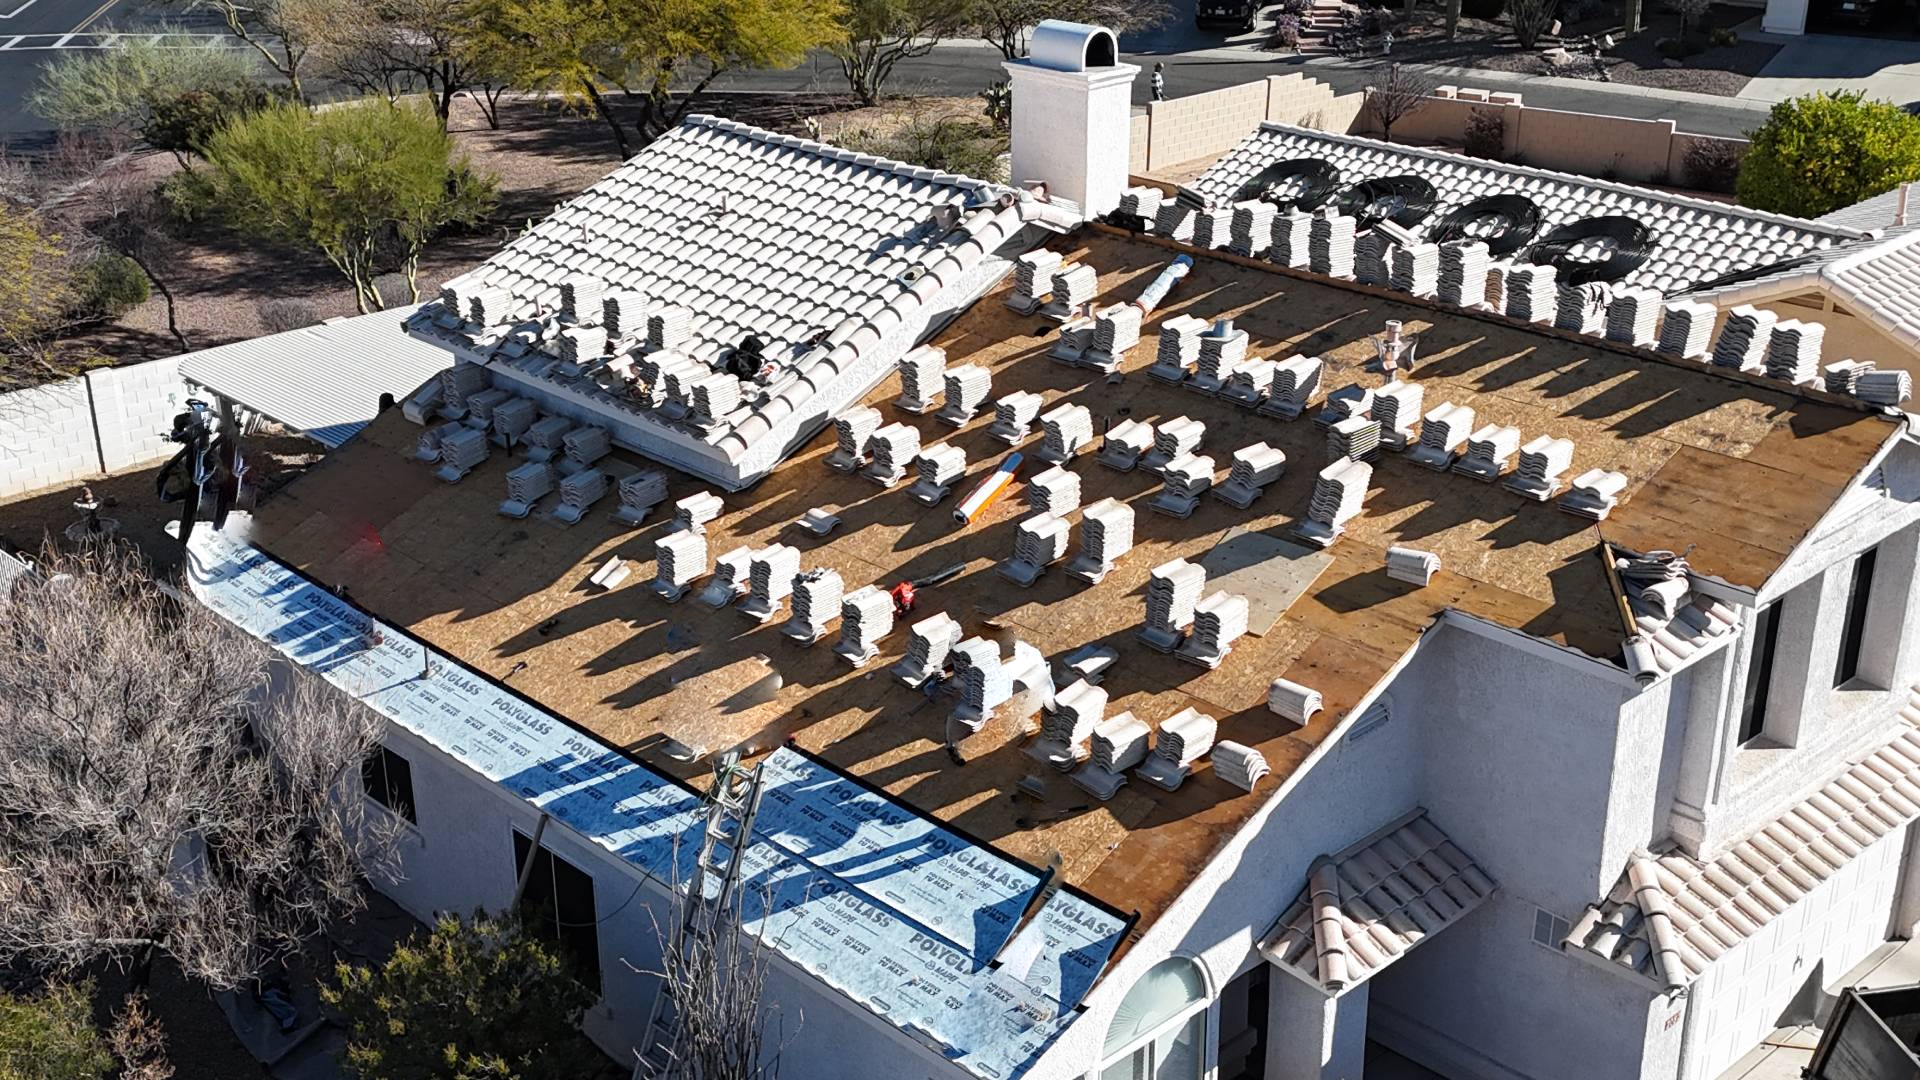
Step 2: Protecting your home and yard
Before anyone climbs onto the roof, the crew protects your landscaping, walkways, and outdoor areas with plywood and tarps. This prevents damage from falling debris and keeps the work area neat. Ladders go up around the home so the team can safely reach every part of the roof.
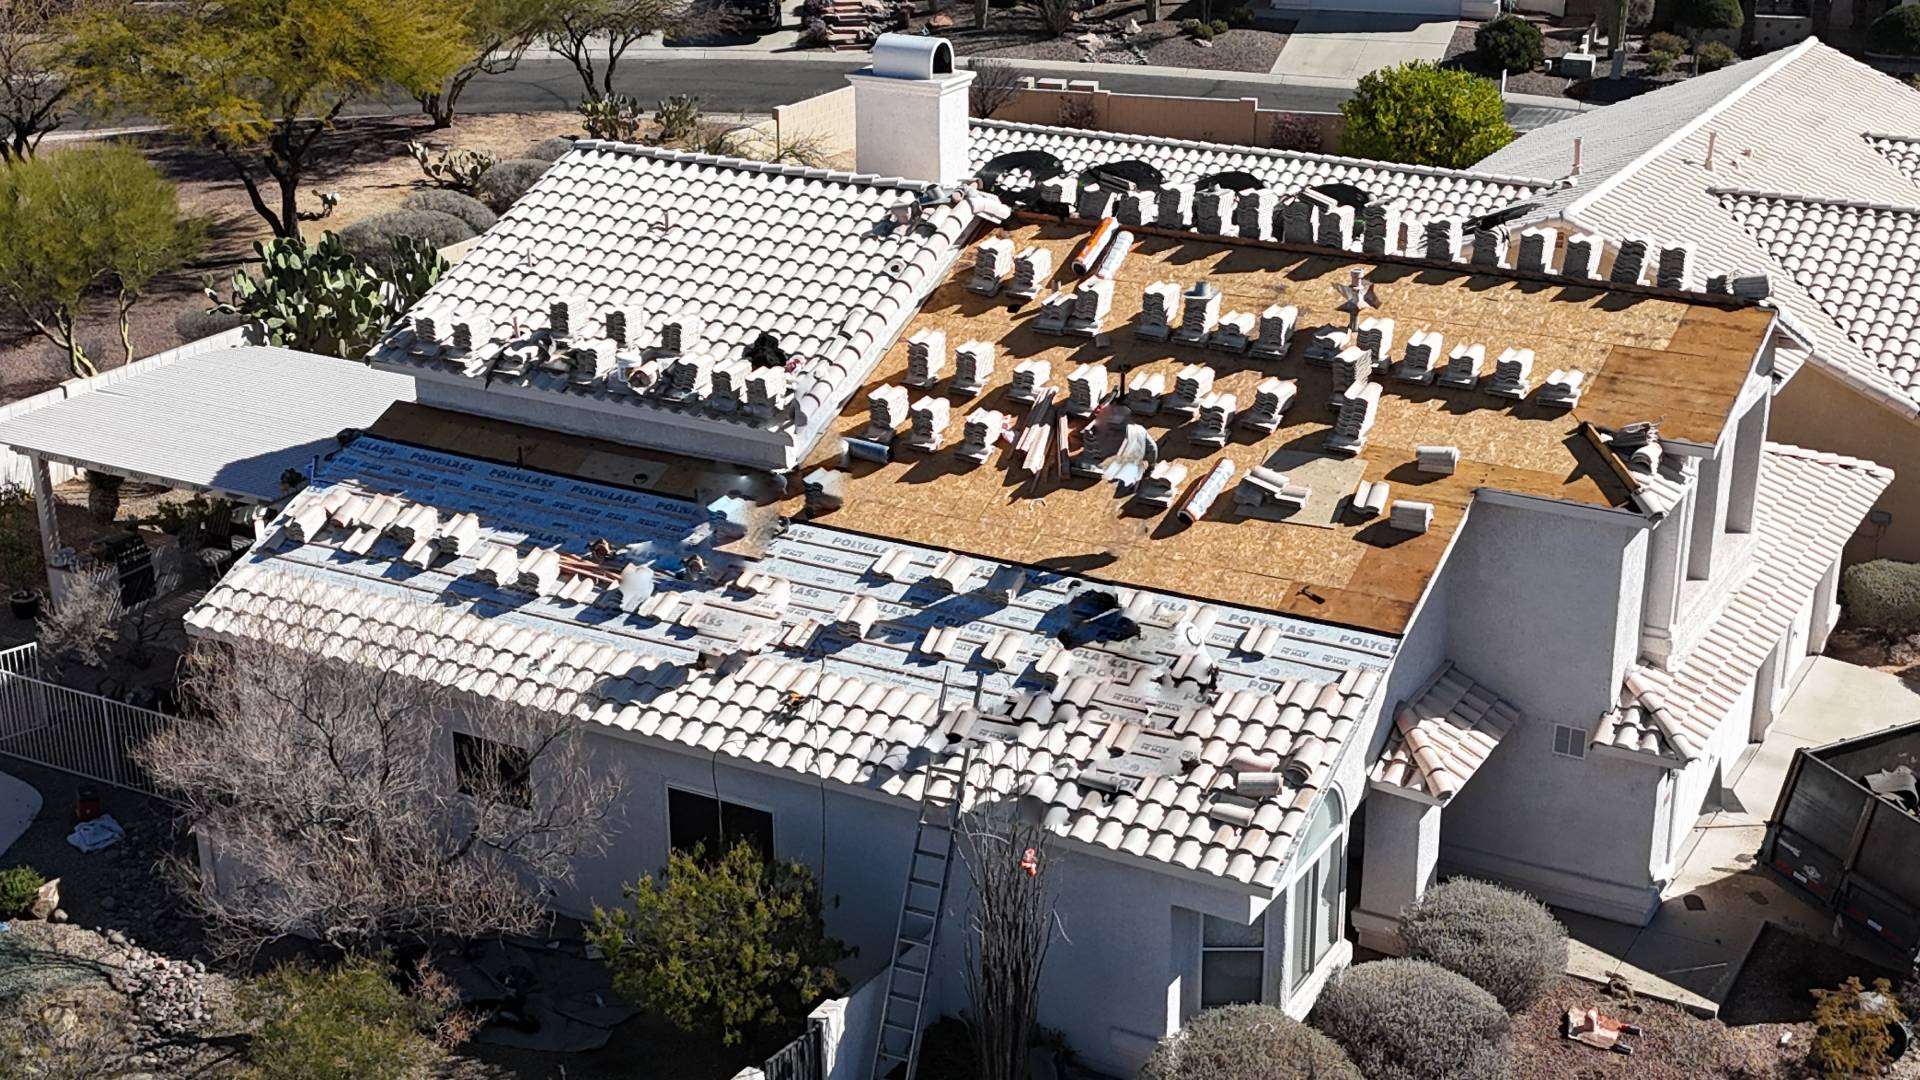
Step 3: Removing and stacking the tiles
The first major step is taking off the existing tiles. Good tiles get stacked neatly on the roof so they can be reused. Broken or worn pieces are brought down and placed in the trailer for disposal. This method keeps things organized and reduces unnecessary trips up and down the ladder.
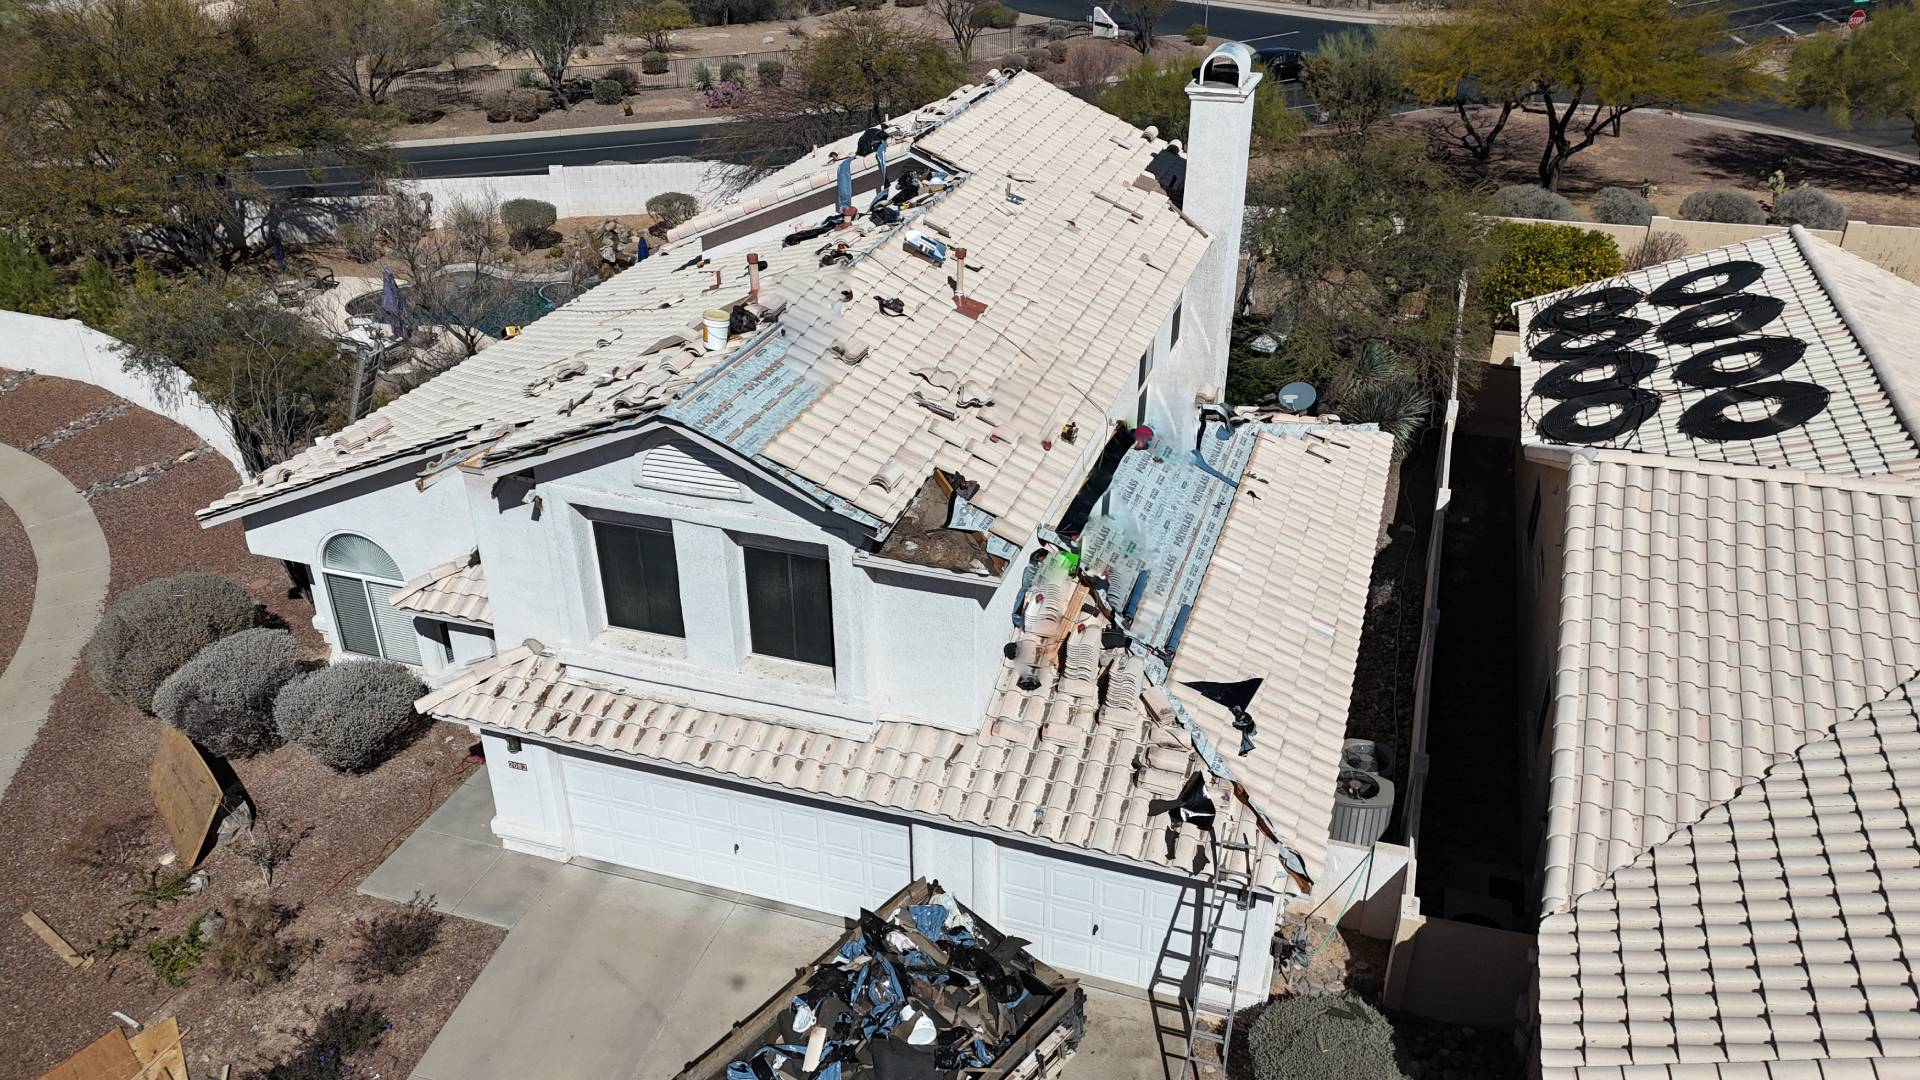
Step 4: Taking the roof down to the wood deck
Once the tiles are out of the way, the crew removes the old underlayment (the waterproof layer beneath the tiles). They clear away nails, old flashings, and worn materials. You’ll see the bare wood deck exposed in the photos — this is the foundation for the new roof.

Step 5: Inspecting and fixing the wood deck
With the roof opened up, the team checks the wood for any weak spots or damage. Any soft or rotted areas get replaced so the roof has a strong base again. This is one of the most important steps to prevent leaks and extend the roof lifespan.

Step 6: Installing the new underlayment
Next comes the fresh waterproof barrier. Workers roll out new underlayment across the entire roof, sealing seams and edges as they go. This layer provides superior protection against leaks and is designed to last far longer than older materials used in past decades.
Step 7: Adding new flashings and sealing details
Around chimneys, vents, and walls, the crew installs new metal flashing and sealants. These areas are the most common sources of leaks, so upgrading them is essential. The goal is simple: guide water away from your home and off the roof the right way.

Step 8: Reinstalling the roof tiles
Once the waterproofing work is complete, the crew starts putting the tiles back. Most of your original tiles are reused, and new matching tiles replace any broken ones. The team lays each row straight, secure, and weather-tight so the roof looks clean and uniform again.

Step 9: Finishing the ridges and edges
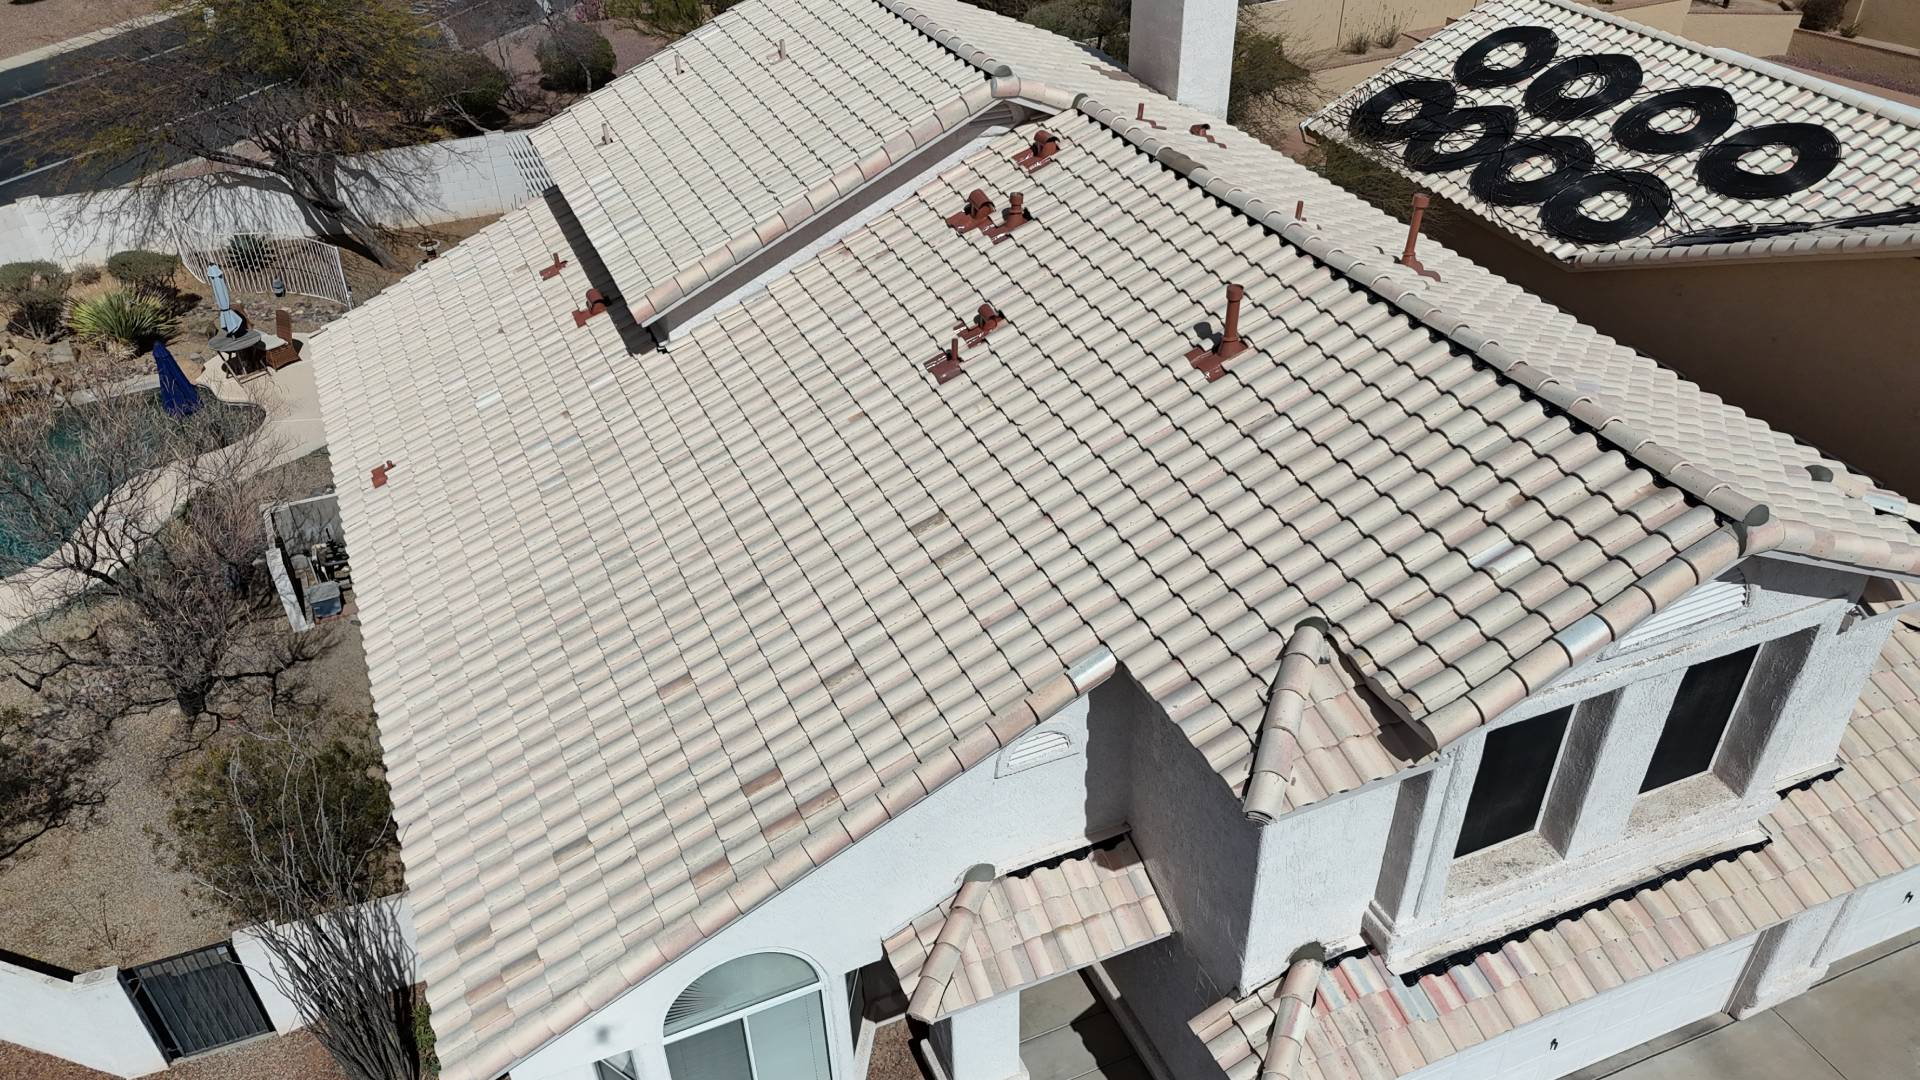
After the main roof sections are covered, the crew installs the ridge tiles, hip tiles, and edge pieces. These finishing touches help the roof shed water correctly and give the roof its polished, complete appearance.
Step 10: Cleaning up the property
All debris, broken tiles, old materials, and packaging go into the dump trailer and are hauled away. The crew removes tarps, sweeps the area, and ensures the yard looks just as it did before—only now with a brand-new roof overhead.
Step 11: Final inspection and drone photos
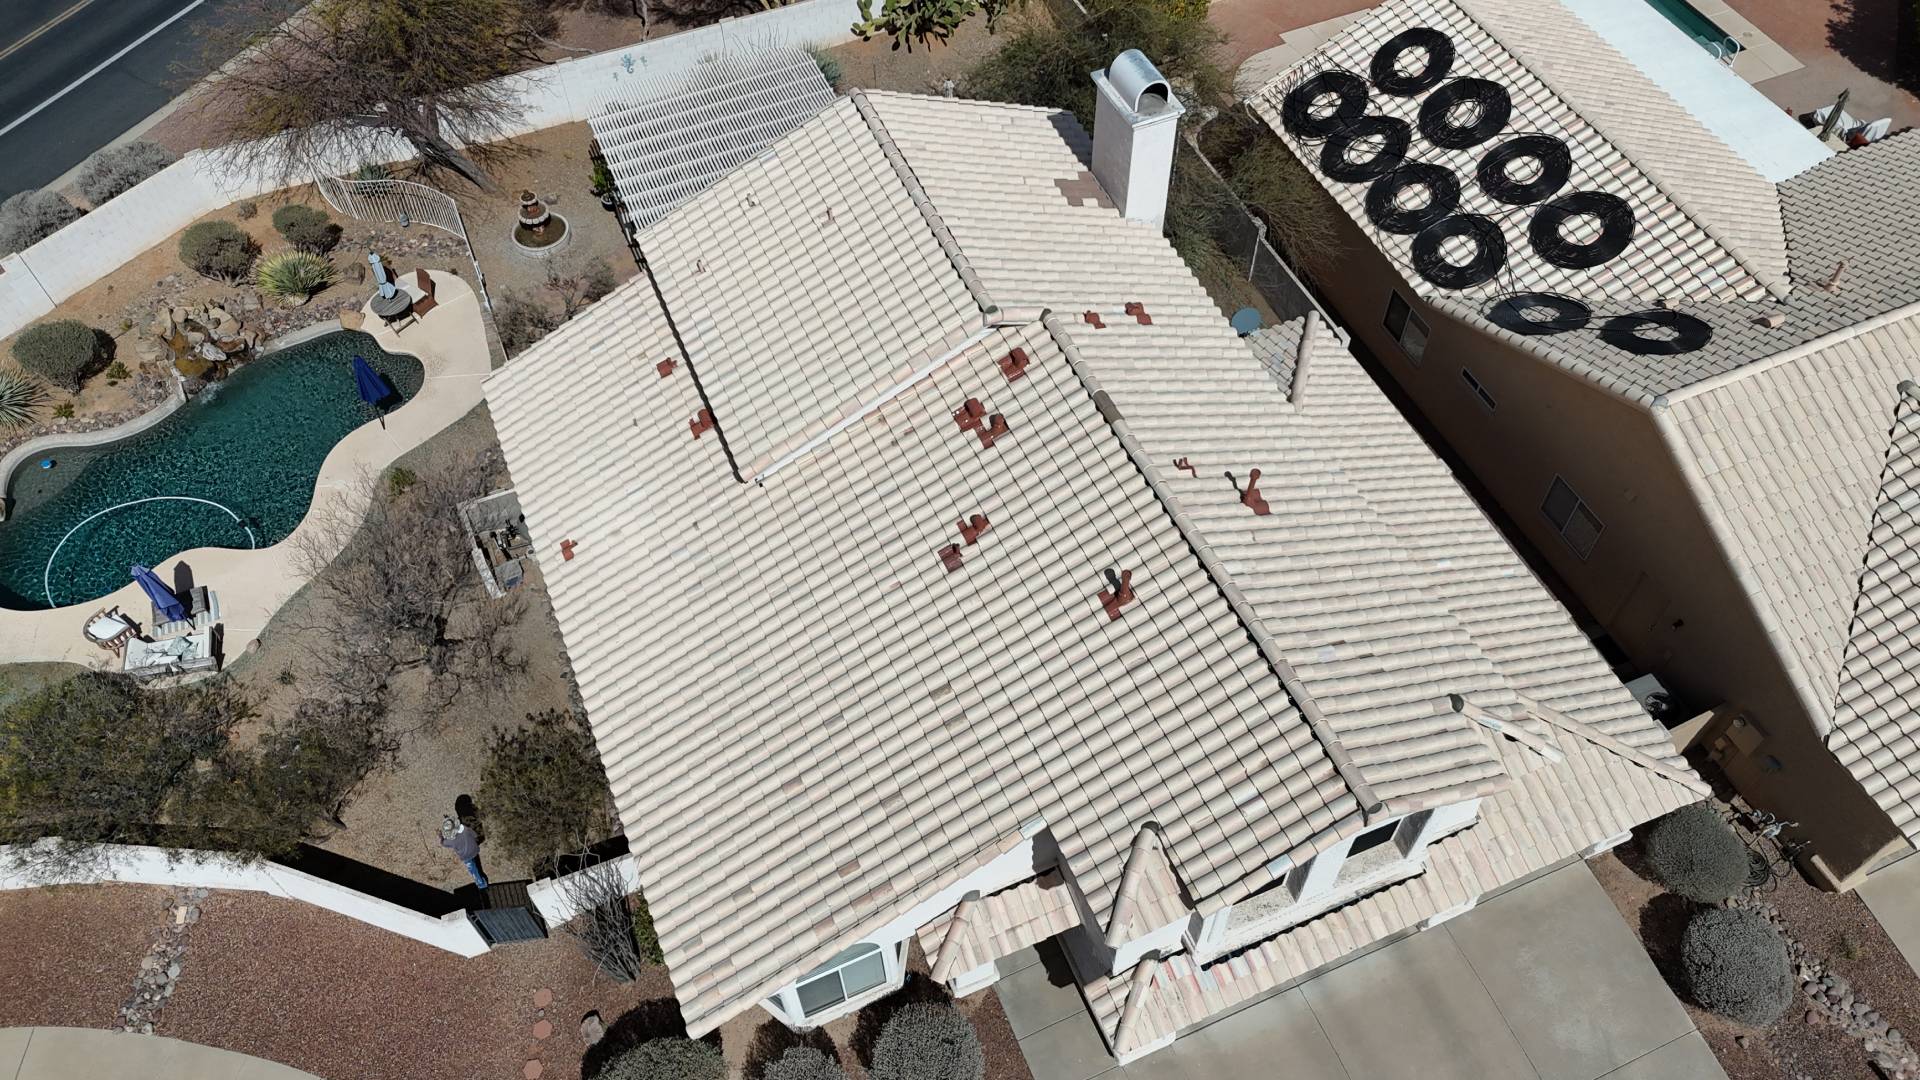
The last step is reviewing the work. The project manager inspects tile lines, flashing, vents, and all finishing details. Drone photos document the finished roof from every angle so you can see the quality of the work for yourself.
Why Homeowners Choose GreenGo Roofing
- Local Tucson roofing experts
- Licensed, insured, and experienced with tile systems
- Honest communication and accurate timelines
- High-performance underlayment built for Arizona weather
- Clean, respectful crews who protect your home and yard
Ready for Your Tile Roof Replacement?
GreenGo Roofing provides free, no-pressure inspections.
We’ll document the condition of your roof, show you photos, and explain your options clearly.
Roof Restoration
Lifetime Layover System

