
The Eco-Friendly Roofing Contractor
Tile Roof Restoration
Your Tile Roof Restoration, Step by Step
Step 1: Understanding Your Current Roof
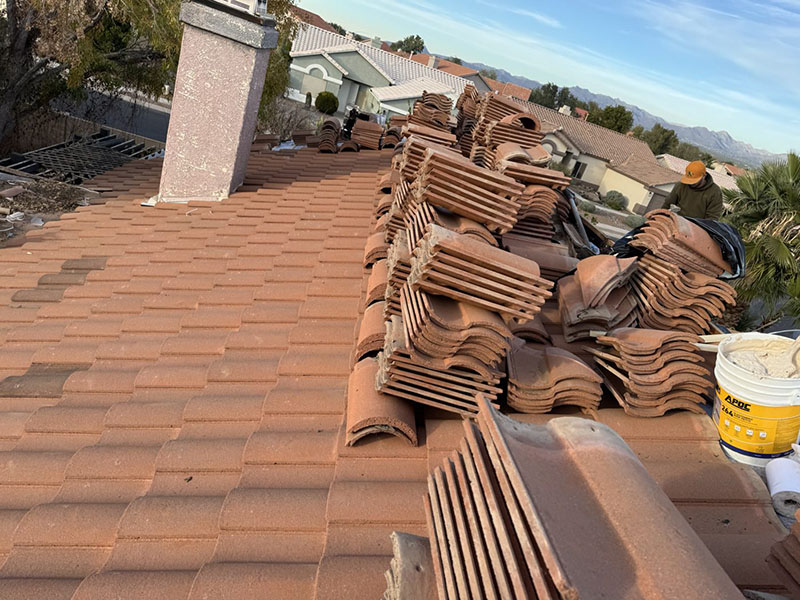
Before we touch a single tile, we take a careful look at the roof you already have. We document the age, fading, cracked tiles, mineral deposits, and any underlying problems so we know exactly what we’re working with. This photo shows the original tile roof — sun-faded, weathered by decades of Arizona summers, with old tiles staged along the ridge. That visual record is yours to keep. If insurance ever gets involved, you’ll be glad we did.
Step 2: Inspecting the Existing Tiles Up Close
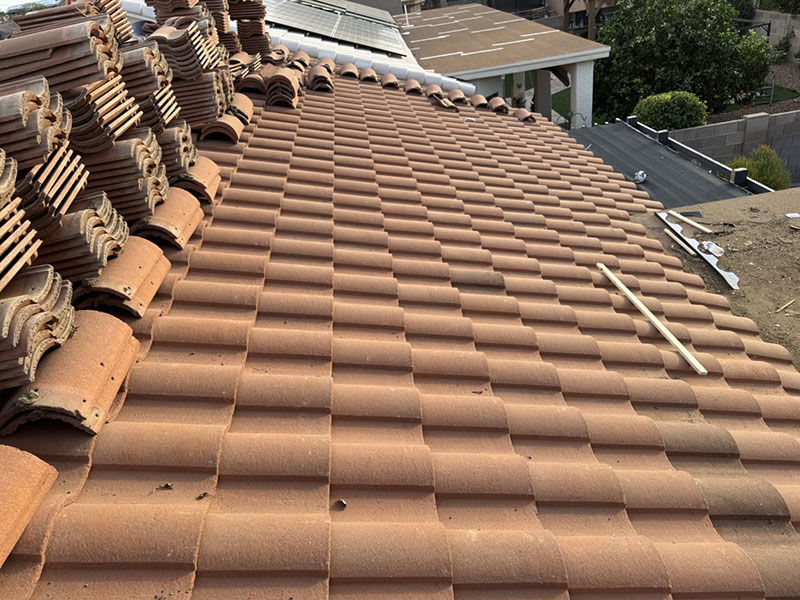
We don’t just glance at your roof from the driveway. We climb up and check every section — looking at tile condition, mortar, fasteners, and any spots where water has been finding its way in. The closer we look now, the fewer surprises you face later. This is also where we confirm which tiles are sound enough to go back on — on a restoration, your existing tiles are the finished product, so protecting them now is everything.
Step 3: Carefully Lifting and Saving Your Tiles
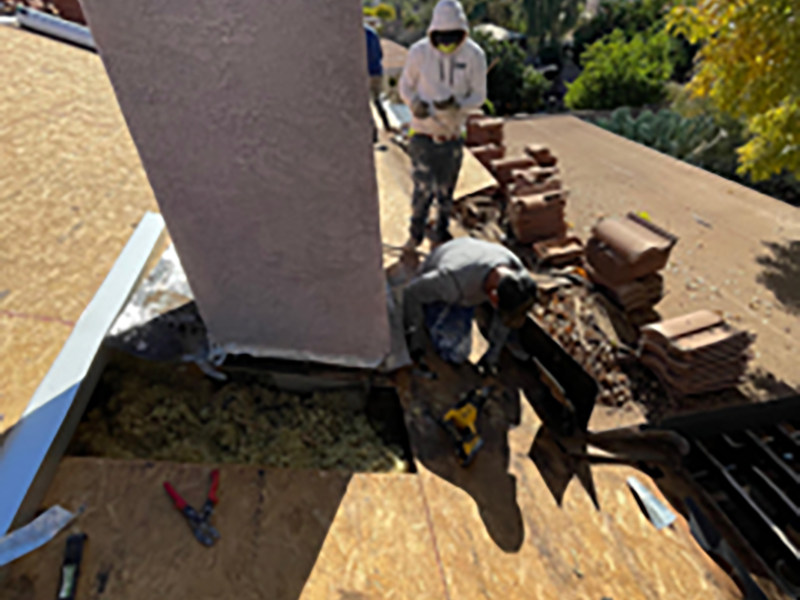
This is where a restoration is completely different from a tear-off. Our crew carefully lifts your tiles off — working around chimneys, vent stacks, and skylights — and stacks them in protected groups so they can go right back on. These are the same tiles that already match your home, so we treat every one like it’s irreplaceable. Your yard stays protected with tarps, and your gutters get a final check before we move on.
Step 4: Inspecting and Repairing the Roof Deck
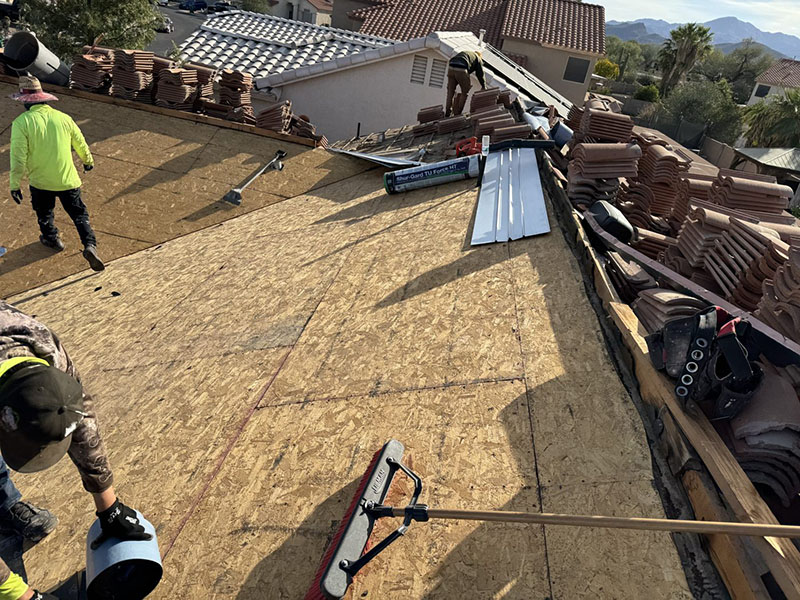
With the tiles safely set aside, we get our first clear look at the decking underneath. On a restoration, most of that decking is perfectly good — so rather than tearing it all out, we inspect every sheet and repair or replace only the sections that are rotted, soft, or damaged. It’s the layer most homeowners never see, but it’s the foundation everything else rests on, so anything that isn’t solid gets corrected before we move forward.
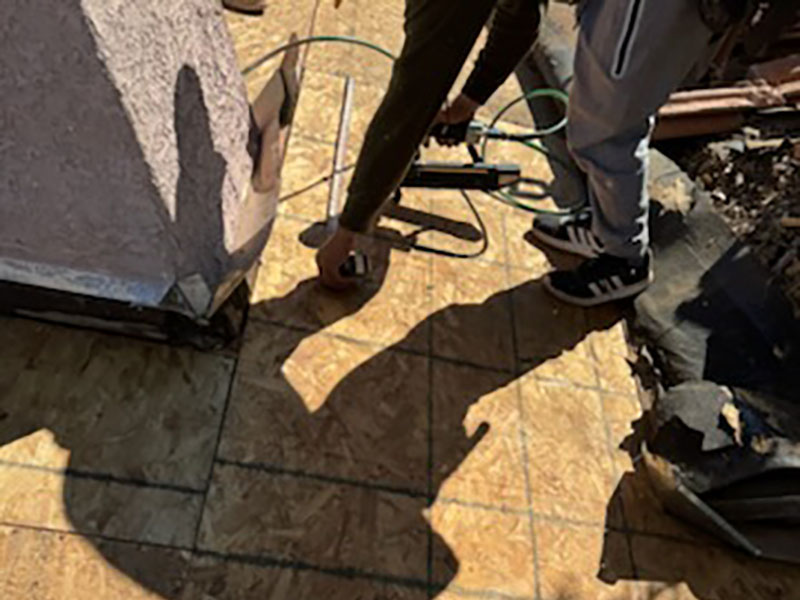
Step 5: Re-securing the Decking
Before anything new goes down, we go back over the decking and re-fasten it to the proper pattern — tightening loose sheets, replacing missing fasteners, and flattening any high spots. This is one of those details that separates a roof that lasts thirty years from one that fails in ten. We don’t cut corners on what you can’t see, because those hidden details are what hold everything else together.
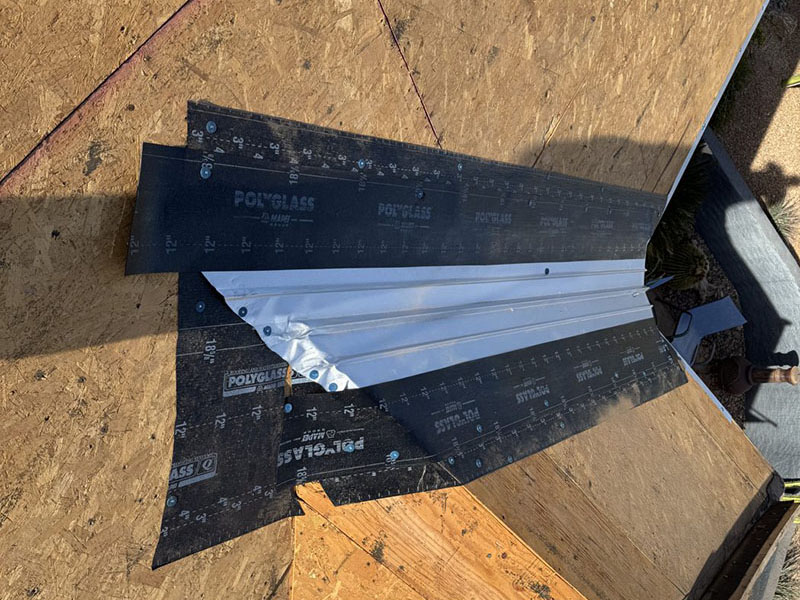
Step 6: Preparing the Flashing Materials
Flashing is the metal that keeps water out of every joint, edge, and valley. Before we install a single piece, we lay out the rolls and pre-cut sections so the installation moves smoothly. This is also when we confirm everything is on-site — no mid-project trips back to the supplier means no delays for you.
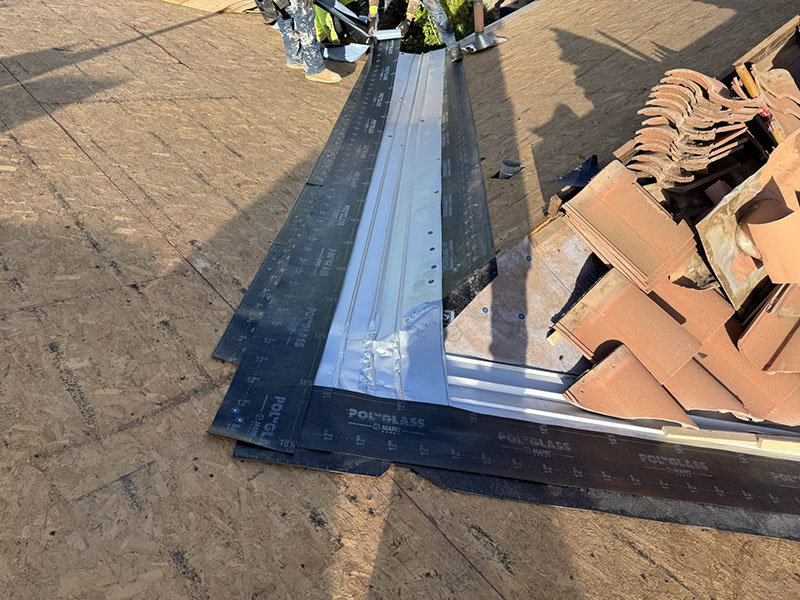
Step 7: Installing the Drip Edge
The drip edge runs along the perimeter of your roof. It’s the metal flashing that channels water away from the fascia and into the gutter, instead of letting it run down behind the boards and rot out your eaves. Without a proper drip edge, even a perfectly installed tile roof will eventually fail at the edges. We never skip it.
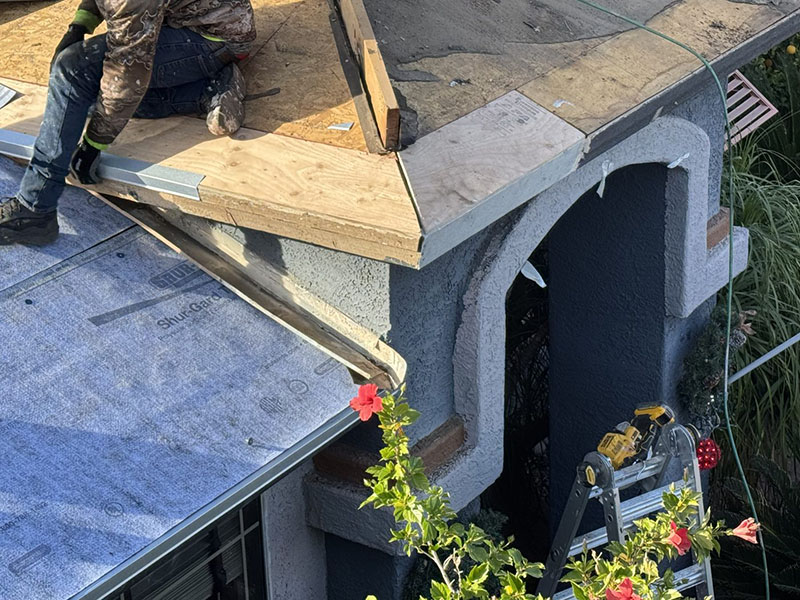
Step 8: Framing the Parapet Corner
Corners and parapets are where most roofs start to leak first. We rebuild and re-flash every transition so water can’t sneak in at the seams. This detail work takes time and patience, but it’s where the difference between a good roof and a great one really shows. Every transition is sealed, sloped, and ready for the next layer.
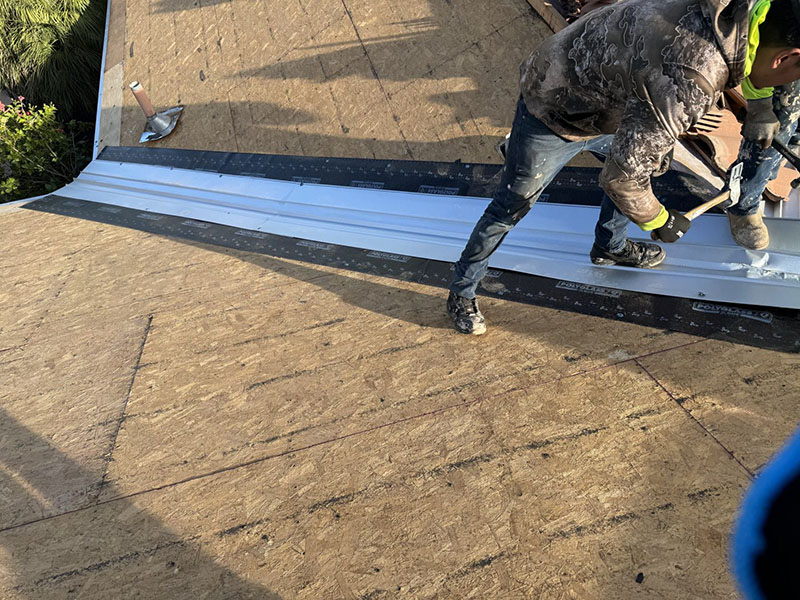
Step 9: Securing the Drip Edge on the Deck
Once each section of drip edge is positioned, we fasten it down and bond it to the underlayment. Every fastener is set flush — no proud nails, no skipped sections, no gaps. The perimeter of your roof is now sealed against the elements before we move into the main waterproofing layer.
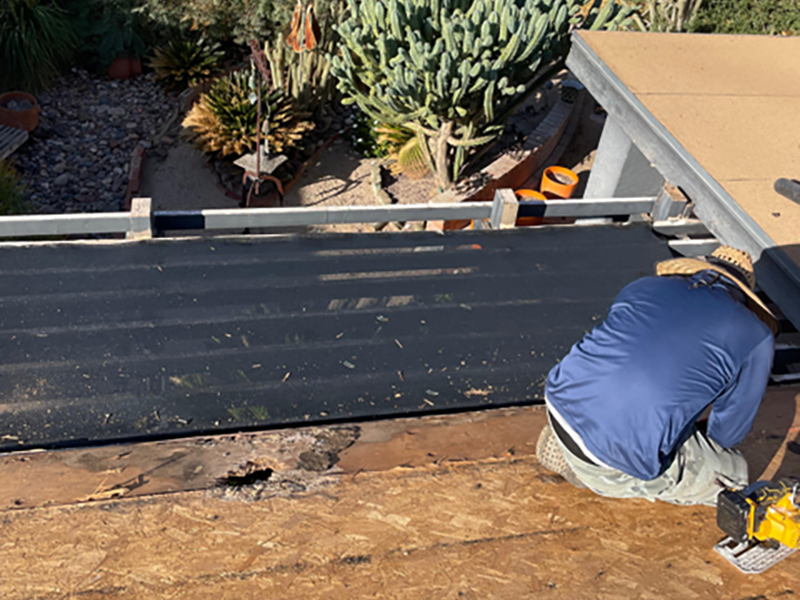
Step 10: Laying Down Premium Underlayment
This is the heart of a tile roof restoration. The underlayment is the waterproof barrier between your decking and your tiles — and on a tile roof in Arizona, it’s the layer that actually does the waterproofing, and the layer that wears out first. Your tiles can last fifty years; the felt beneath them does not. We strip off the old, failed underlayment and roll out a fresh, high-performance synthetic rated to handle the heat and UV that destroy cheaper paper-based felts in just a few summers.
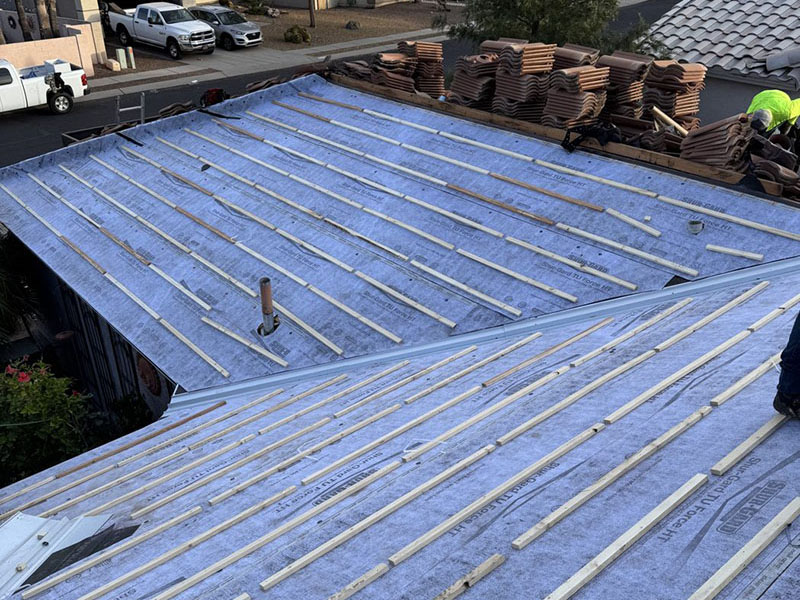
Step 11: Installing Battens for Tile Support
Tile roofs aren’t just glued down. Each tile rests on horizontal wood battens that we attach to your decking with precise spacing. This raised system lets the roof breathe, sheds water cleanly underneath the tile, and gives every tile a secure mechanical anchor point. It’s the right way to install tile — and unfortunately, it’s not how every roofer does it.
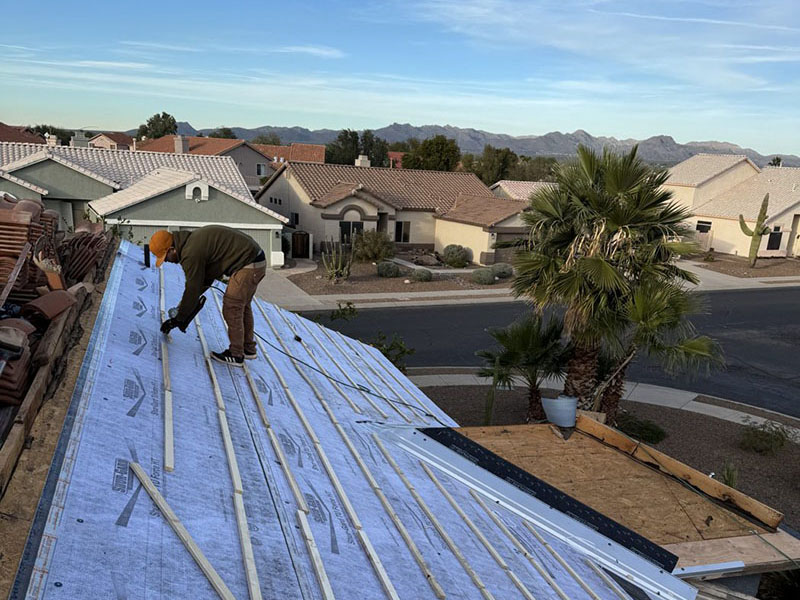
Step 12: Setting the Battens in Place
Every batten gets nailed at the right angle and spacing for your tile’s profile. Get this wrong and the tile pattern won’t line up. Get it right, and the rest of the install practically flies. Our crews have done this enough times that the measurements are second nature — and we double-check every line anyway.
Step 13: Bringing Your Tiles Back Up
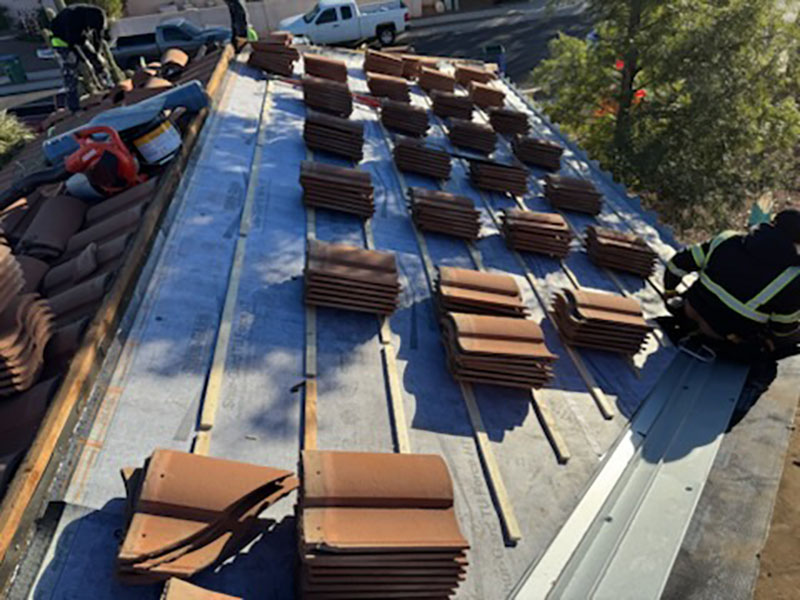
With the new underlayment and battens in place, we hoist your original tiles back onto the roof and stage them across it in measured groups. This keeps the install moving without overloading any one section of the structure — and because these are the tiles that were already on your home, the color and character stay exactly the way you’ve always known them.
Step 14: Relaying Your Tiles Begins
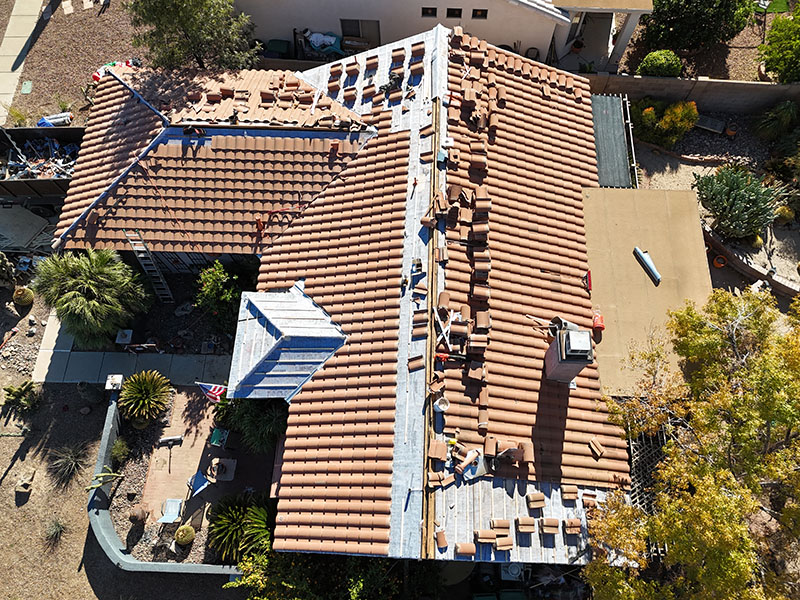
From the air, you can finally see the restoration come together. Your tiles go back down row by row, locking together as the crew works across each face of the roof — now resting on a brand-new waterproof system instead of the worn-out one underneath. Same tiles, same look, completely renewed protection.
Step 15: Progress Across the Roof
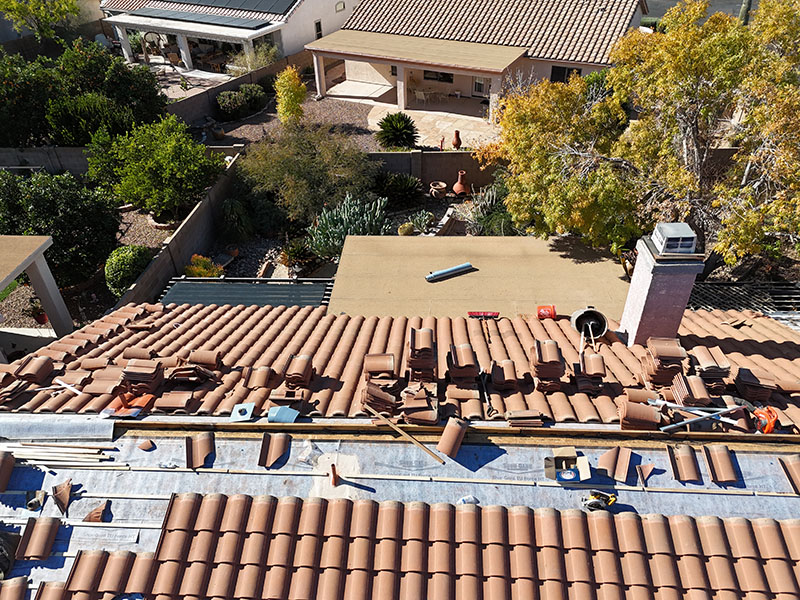
Closer aerial view. You can see how every tile aligns to the one before it. The crew works methodically — no skipped fasteners, no mismatched rows, no rushed corners. Our quality control happens during the install, not after. That’s how we make sure the finished roof really is finished.
Step 16: The Restored Roof — Front View
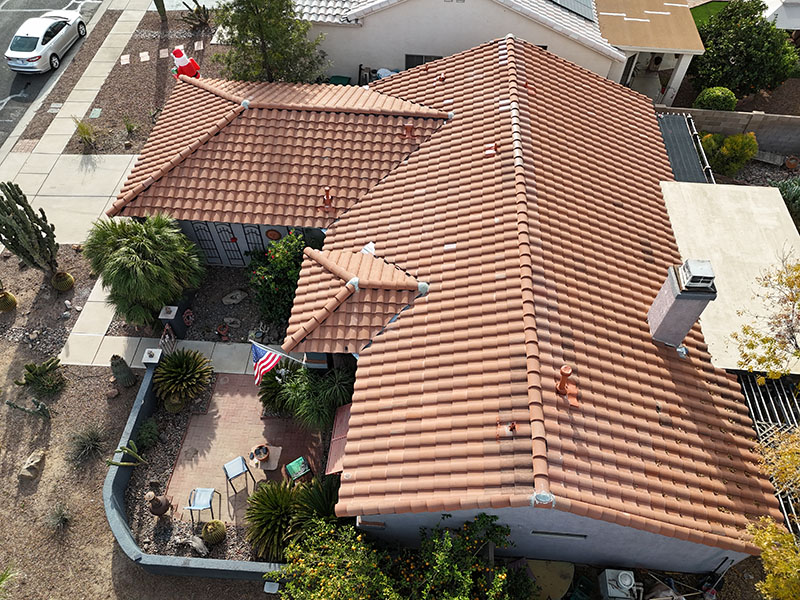
And here it is — your restored tile roof from the front. The same tiles you’ve always had, now sitting on a fresh, watertight system, with every ridge cap perfectly seated. The home looks ten years younger from the curb, and the roof is ready for decades more. This is the moment that makes every step before it worth it.
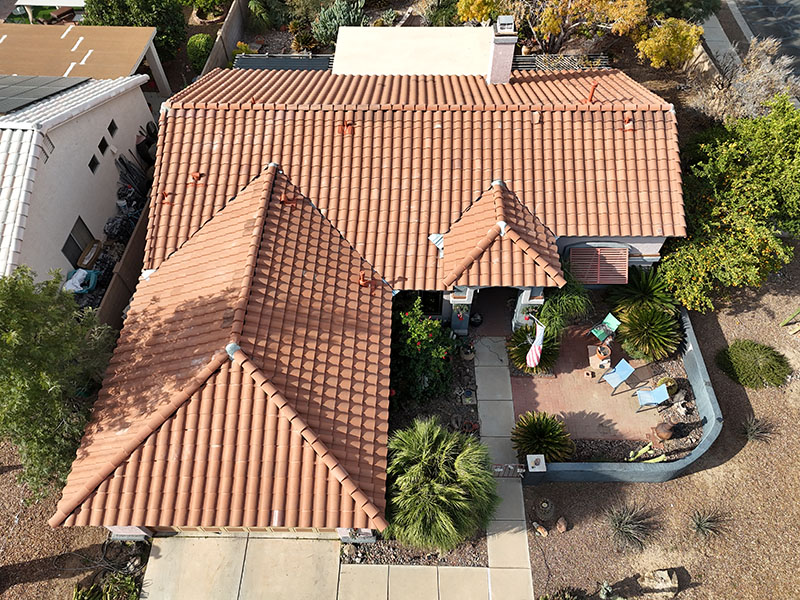
Step 17: Top-Down Beauty Shot
From directly overhead you can see every detail of the install — uniform color, clean valleys, properly aligned ridges, and perfectly capped peaks. This is the kind of work I’d want on my own home, which is the only standard we hold ourselves to here at Green Go Roofing.
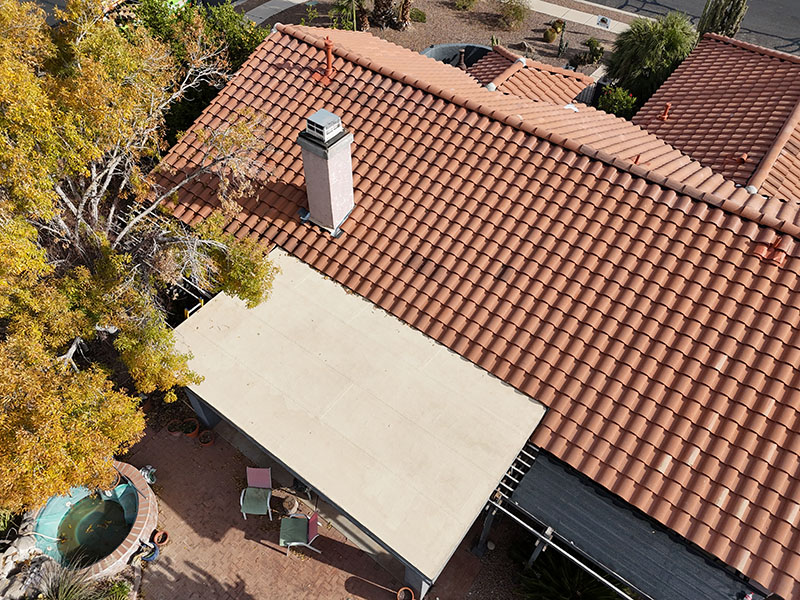
Step 18: Back View of the Finished Roof
The back of your home gets the exact same attention as the front. No shortcuts on the side neighbors can’t see, no quick fixes where the inspector won’t notice. Every face of your roof is finished to the same standard, because that’s how we build a roof that lasts.
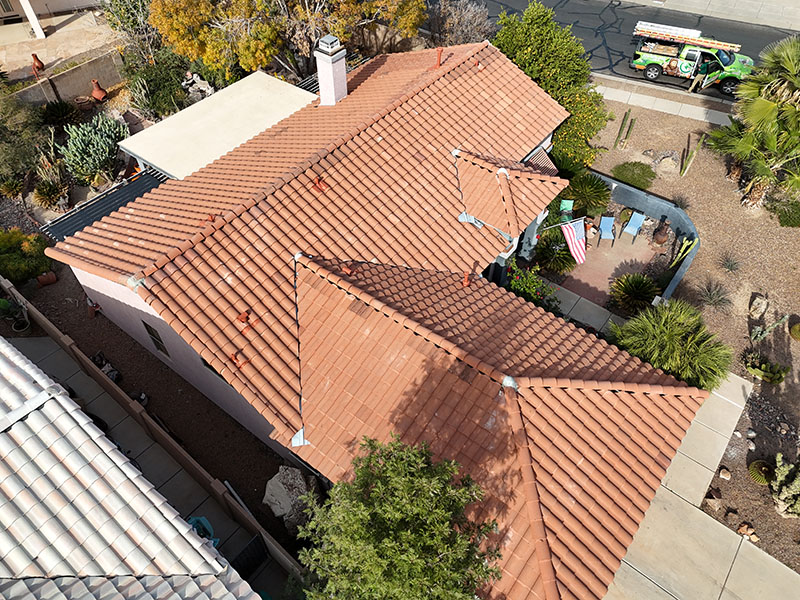
Step 19: Wide Side Angle
Step back and take it in. Your home looks renewed, and the roof above it is now built to outlast the Arizona sun, monsoon storms, and decades of weather — all while keeping your original tiles out of the landfill. That’s the eco-friendly difference: a restoration gives you a brand-new roofing system without manufacturing a single new tile.
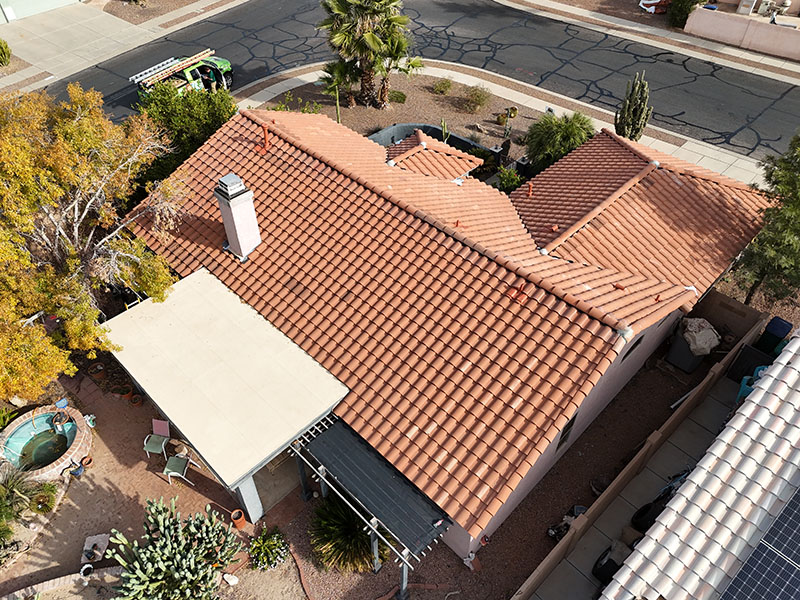
Step 20: The Final Overview
This is the wrap. A fully restored tile roof, a clean job site, and a homeowner with peace of mind for the next thirty years. The trucks are loaded, the trailers are gone, and the only thing left behind is a roof that’s better than the one we started with. That’s how every Green Go Roofing project ends.
The Final Word
That’s the Green Go Roofing process — twenty steps, every one of them done with the same care, whether anyone is watching or not. We restore roofs in Tucson the way we’d want our own homes treated: thoroughly, honestly, and with materials built to stand up to the desert. If you’ve made it this far through the walkthrough, you already know the kind of work we do. When you’re ready to talk about your roof, give us a call. The first conversation costs nothing — and it might be the most important one you have all year.
Why Homeowners Choose GreenGo Roofing
- Local Tucson roofing experts
- Licensed, insured, and experienced with tile systems
- Honest communication and accurate timelines
- High-performance underlayment built for Arizona weather
- Clean, respectful crews who protect your home and yard
Ready for Your Tile Roof Restoration?
GreenGo Roofing provides free, no-pressure inspections.
We’ll document the condition of your roof, show you photos, and explain your options clearly.
Roof Restoration
Lifetime Layover System
Our Lifetime Layover System restores your existing roof instead of tearing it off, installing a durable, energy-efficient coating system directly over your current surface. This eco-friendly approach saves you money, keeps tons of old roofing material out of the landfill, and reflects desert heat to help lower your cooling bills. Best of all, it’s backed by a lifetime warranty — giving Tucson homeowners lasting protection and peace of mind.